Turning Your Hard Work into Art
After spending countless hours matching shapes and hunting for the right colors, your jigsaw puzzle is finally complete. Now comes the rewarding stage of preservation, allowing you to showcase your masterpiece on your wall for years to come.
Gluing is the most popular way to secure a finished puzzle. It transforms a loose collection of cardboard pieces into a solid, displayable piece of art. The process is straightforward, but it requires patience and the right technique to achieve a professional result.
Preservation is not just about keeping the pieces together; it is about respecting the time and effort invested in every single piece.
— Pures Puzzles Team
Step-by-Step Gluing Process
To achieve a flawless, smooth finish, follow these tested steps carefully. Preparation is key to avoiding frustration later.
- Clean your work surface thoroughly to avoid dust or crumbs.
- Slide a protective sheet under the puzzle to keep your table safe.
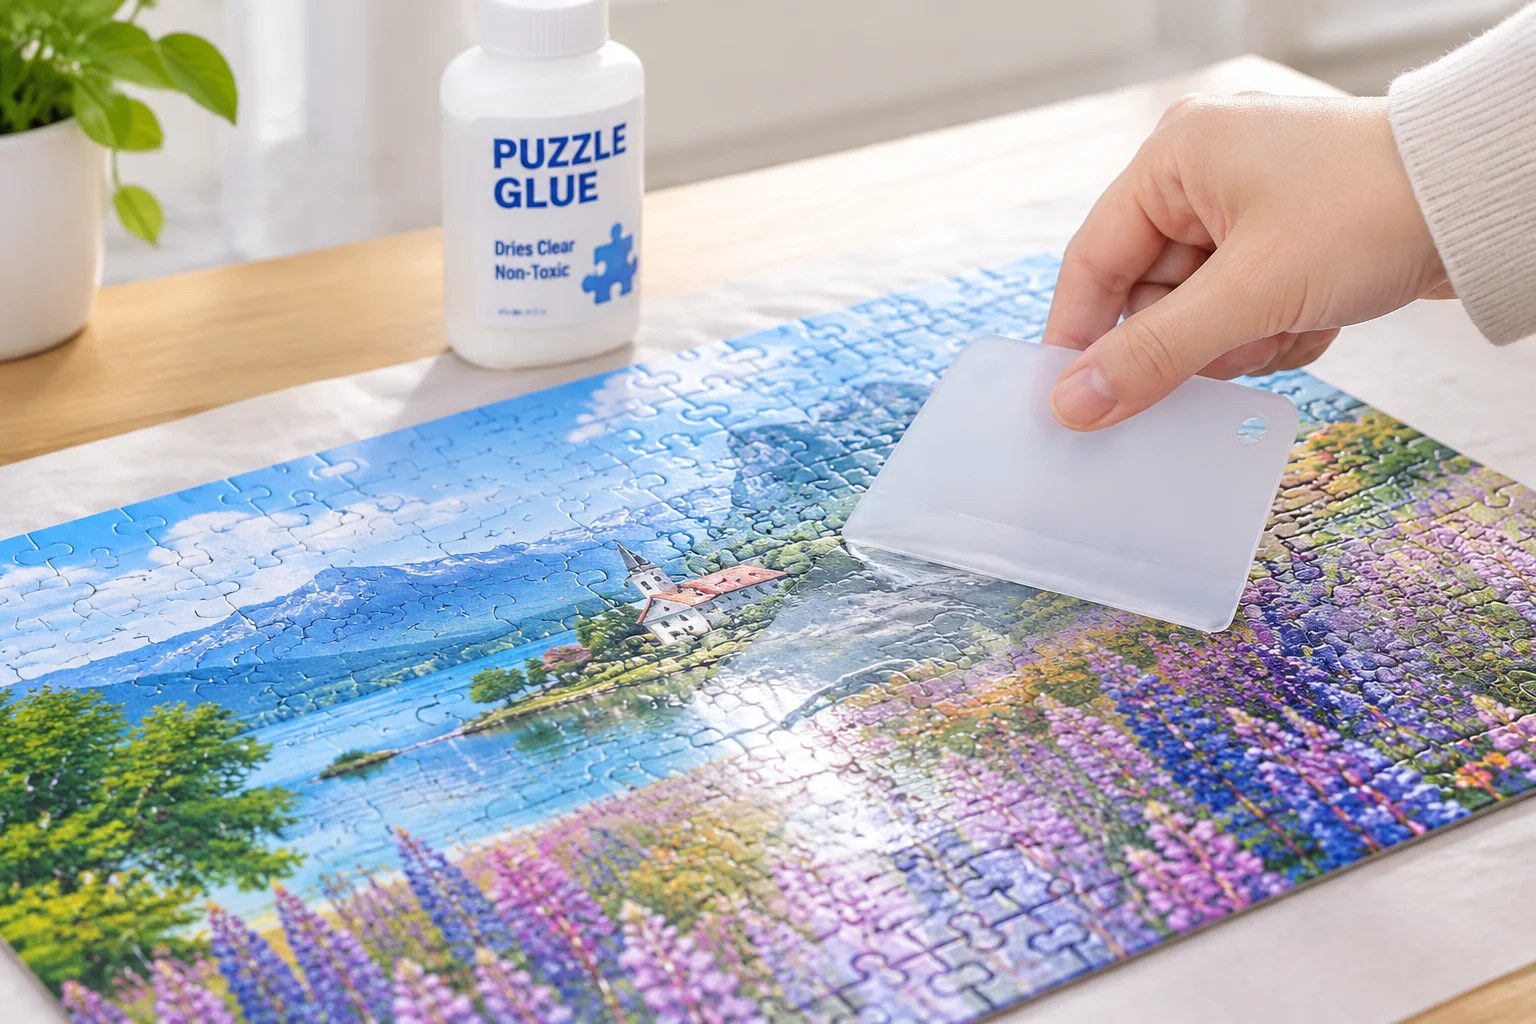
- Use a plastic spreader or old credit card to distribute the glue evenly.
- Check for missed edges or air bubbles before the adhesive sets.
Common Mistakes to Avoid
Many enthusiasts accidentally use too much glue, which can cause the cardboard to swell and the puzzle surface to buckle. Apply thin, even layers rather than pouring directly onto the surface.
Lastly, ensure your puzzle is fully complete before starting. Reaching under to pull out a single missing piece after you've applied glue is a situation you definitely want to avoid. Once it's secure, mount it in a frame or mount it on a backing board, and your display is ready.

Discussion
No comments yet. Be the first to leave a comment.
Leave a Comment
Share your thoughts, experiences, or questions about this assembly guide.