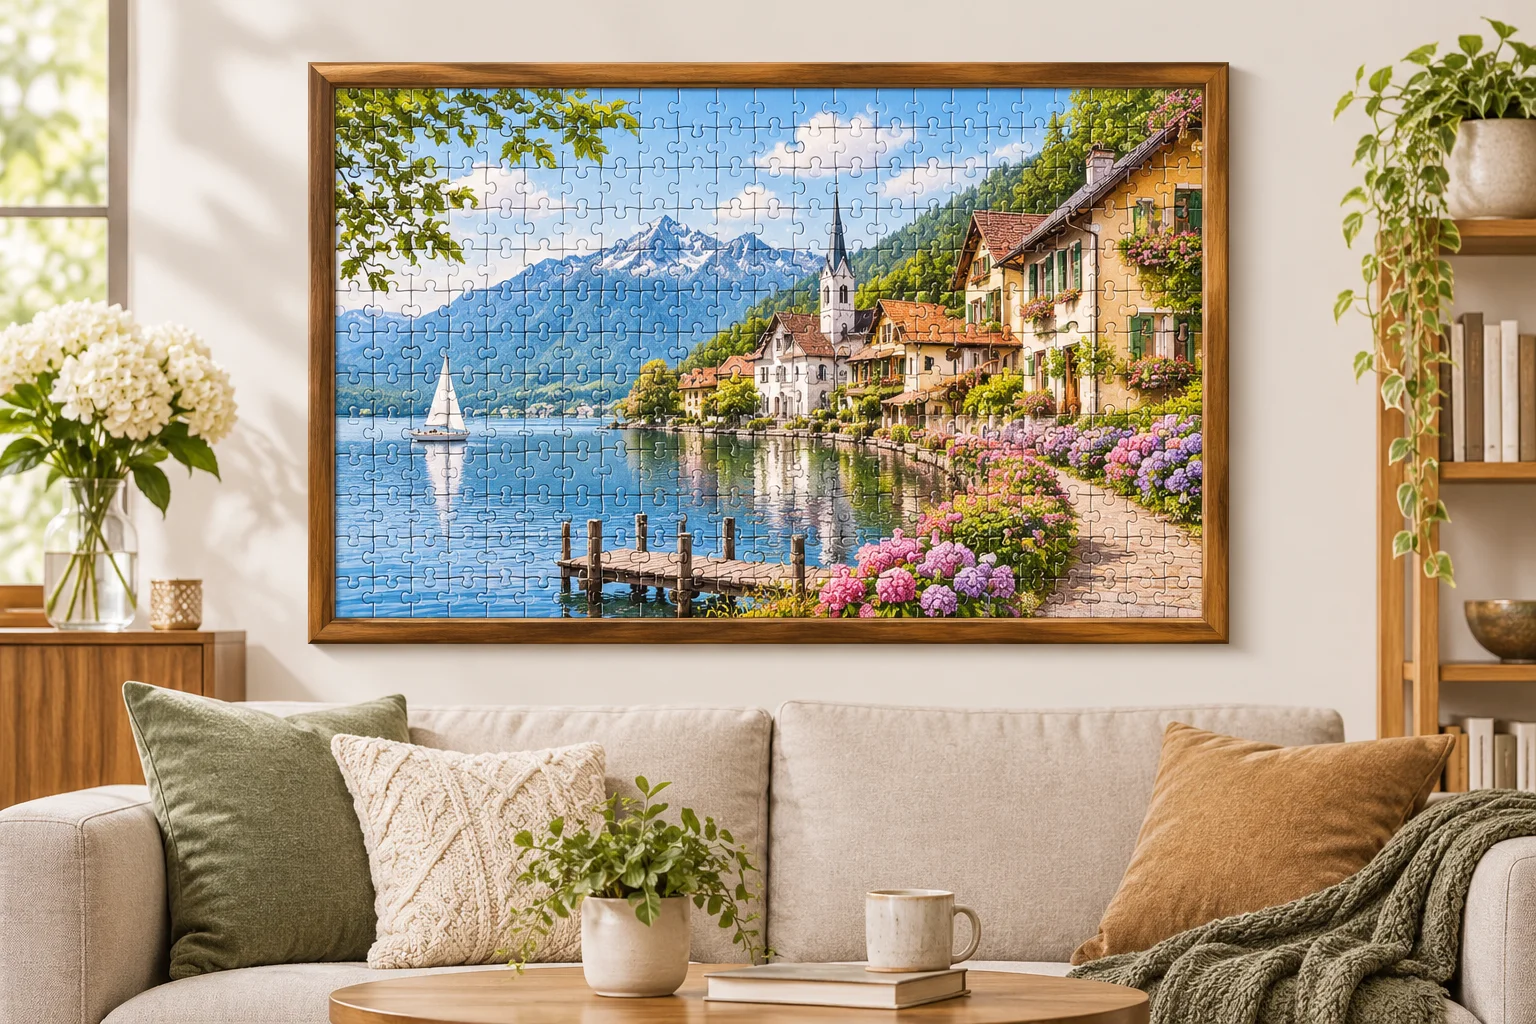
Preparing Your Assembled Artwork for Mounting
Completing a thousand-piece illustration brings hours of hard-won satisfaction, yet turning that tabletop victory into permanent wall decor requires methodical preparation and careful handling.
Before placing any jigsaw inside a frame moulding, the interconnected cardboard or birch pieces require stabilization. Slide non-stick baking parchment or waxed paper gently underneath the entire footprint to isolate your working tabletop. Roll a standard baker pin gently over the surface to push stubborn raised joints down flush. A dedicated clear puzzle sealant applied with a flexible squeegee penetrates each seam, binding adjacent tabs firmly into a unified panel without dimming underlying ink pigments.
Framing a completed puzzle elevates an ephemeral tabletop pastime into an intentional gallery display that captures memories of patience and discovery.
— Emily Carter, Artisan Assembly Specialist
Selecting Frames, Depths, and Matting Styles
Standard photograph frames rarely possess adequate rebate depth for a puzzle thickness of two to three millimetres. Squeezing thick jigsaw boards behind tight glass bends retaining clips and causes unwanted ripples:
- Shadowbox mouldings equipped with minimum six-millimetre interior depth provide comfortable space for both puzzle and backer.
- Custom conservation bevel mats introduce elegant visual margins while creating an air gap between print ink and the acrylic front.
- Anti-reflective acrylic sheets reduce harsh living room window glare without introducing the greenish cast of cheap float glass.
- Rigid backboard clips or spring-steel framer points maintain constant forward pressure against the glazing perimeter.
Mounting Mechanics and Safe Wall Installation
Allow your topcoat or backside adhesive sheets to cure in a dry room for at least fourteen hours before attempting installation. Once the bond stabilizes, attach the panel directly to an archival mount board using pH-neutral double-sided adhesive film. This prevents future sagging in humid summer months while preserving the structural integrity of every interlock.
When hanging, equip the rear wooden rails with steel D-rings and braided stainless hanging wire instead of relying on a single sawtooth tab. This dual-point distribution holds the considerable weight of glass and board level against wall studs, protecting your finished masterpiece for years of admiration.

Eleanor Vance
Verified ReaderFollowing the tip to measure with a rigid steel ruler before buying a frame saved me from a huge headache. The box stated exactly 50x70cm, but the assembled pieces actually measured 50.8cm across. The shadowbox advice made mounting seamless!